Phone/WhatsApp/WeChat
+86 1732 8662 098
+86 1732 8662 098
This article applies to the Lexus IS (2005-2014). Credit: www.clublexus.com
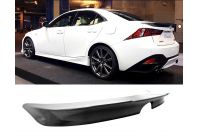
There's nothing like adding a spoiler on the back of your car to give it that sleek, sporty look. Perhaps you didn't purchase the spoiler when you bought the car, or you purchased from a private owner who didn't get the spoiler package. Don't fret; adding a spoiler is a pretty simple job that will only take an hour of your time. There's no drilling of holes and no special tools needed, outside of a Dremel. There are two main spoilers that seem to be the most popular by far: the IS-F rear spoiler and the WALD. Although they couldn't look more different from each other, they install very similarly. The IS-F rear spoiler is used as an example here.

Dremel tool
Dremel mandrel #402
Dremel heavy duty cut off wheel #420
3M outdoor mounting, double sided red tape (2 packs)
Painter's masking tape
Alcohol swabs
Car washing supplies
Can of compressed air
Safety goggles
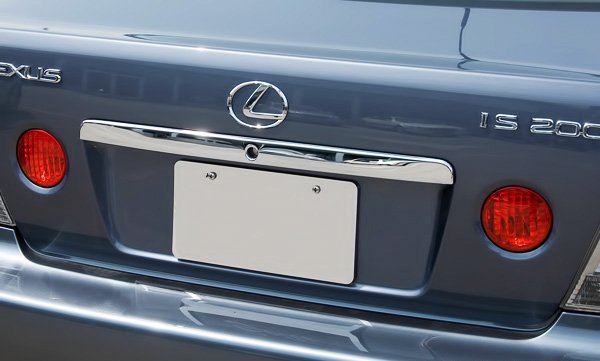
The spoiler will be attached to your car via 3M double-sided mounting tape. This tape is extremely sticky, strong, and durable. It needs to be applied to a clean, dry surface, so washing and drying is a must. Do this as a first step so that it will be nice and dry by the time you are ready to stick the spoiler to the car.
If you flip the spoiler over and take a look at the underside, you'll notice several red plastic studs, two metal studs, and two sponge type washers that are on the metal studs. Remove the sponge washers and set aside for later use. One of the most foolproof methods for this task is to take your Dremel tool and start cutting all those studs. Start with the red plastic studs; they will be super easy, practically melting away. The metal studs will be a lot more difficult to cut through, but they will come off. Protect your eyes as sparks will fly. An alternative method is to use a flat head screwdriver and pry the off the flange that the metal studs are mounted on. This may be quicker, but there is more room for mishap. Choose this option at your own risk. When using the Dremel to cut, get as close to flush as you can. You may need to use a Dremel metal sanding bit to sand down the metal so it is flush with the spoiler as well.
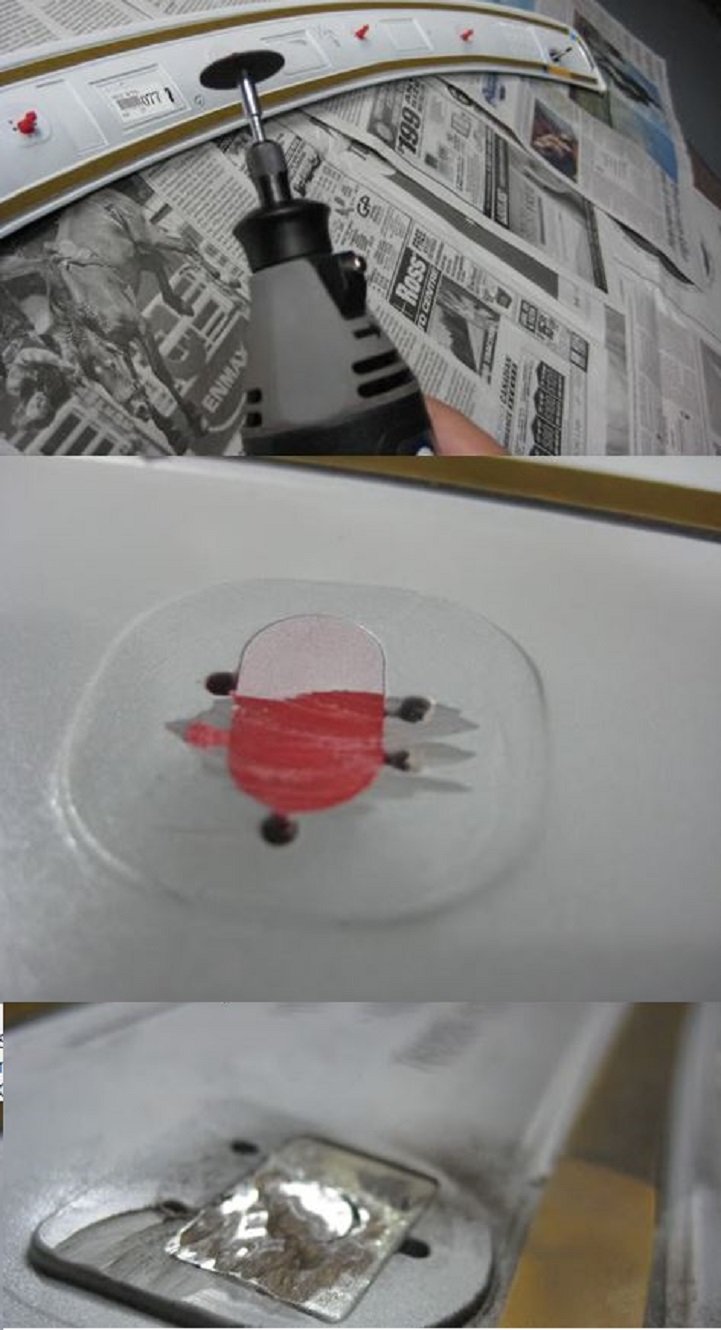
Secure the spoiler while cutting so it doesn't run away from you, causing a bad accident with the Dremel. Be sure to wear protective goggles, especially with the metal studs as the sparks will go flying. Don't do this cutting near any flammable liquids.
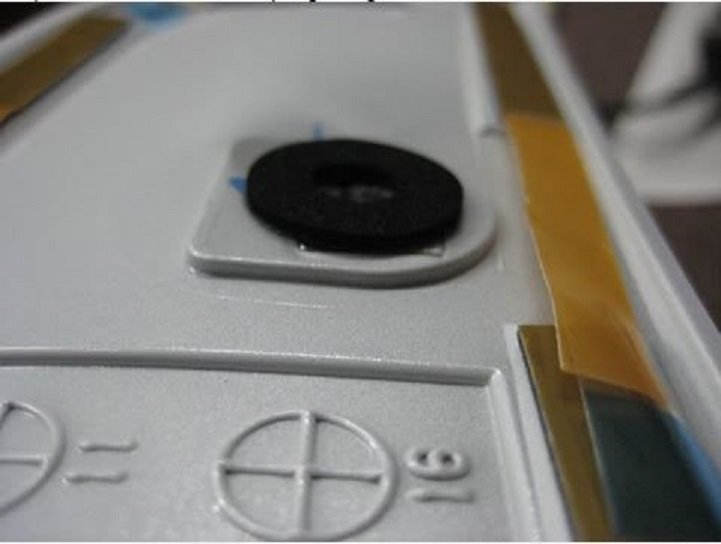
Use a can of canned air to thoroughly blow off as much of the particles as possible, and then use a damp rag to catch the rest. You'll want to be detailed with this step because any metal shavings not removed will eventually rust onto your trunk lid after you have mounted the spoiler. Once you are satisfied that you have completely cleaned the spoiler, place those two sponge washers back to where they were: covering the metal studs. This will protect your trunk lid from coming into contact with this metal; again, something that will cause rust and scratch damage on your car.
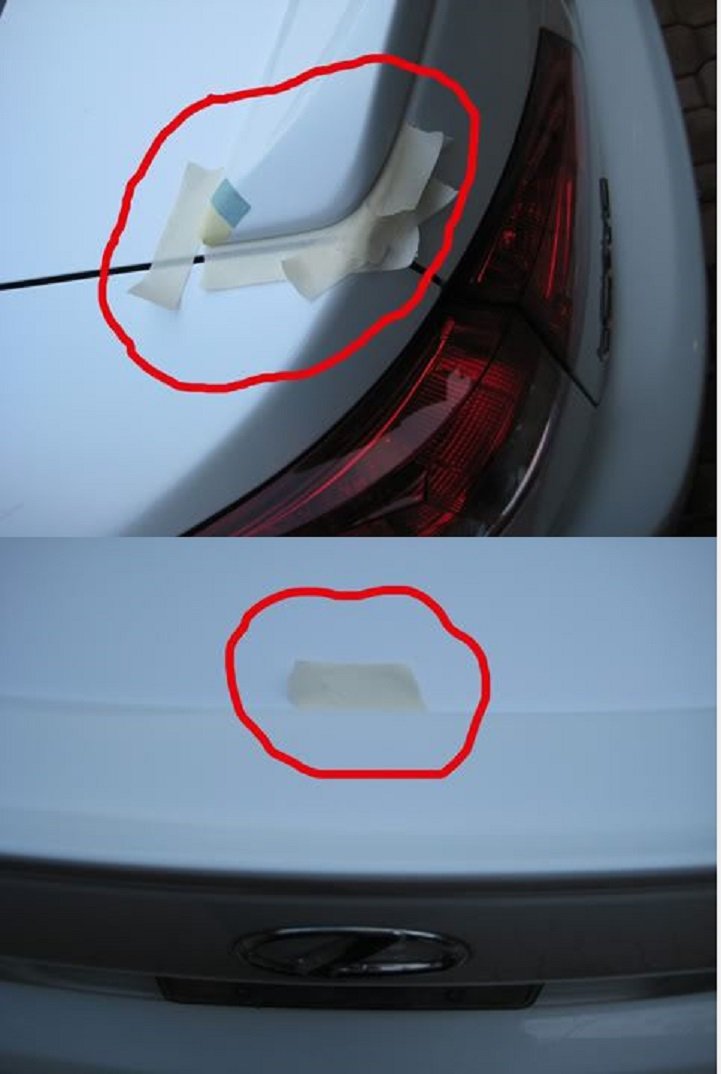
After the spoiler is completely cleaned and the trunk lid is dry, you'll want to do a test fit of the spoiler to the trunk. Carefully place the spoiler onto the trunk lid where you think it should be placed. You can either use a ruler or eyeball the fitment. One thing to make sure of is that there should be no light coming through between the trunk lid and the bottom of the spoiler. This is where it will mount flush. You'll need to make micro movements at this point to perfect the placement. Use the painter's masking tape to mark the sides and the center exactly where the finished product will be permanently mounted.
Use the alcohol swab to completely wipe down the backside of the spoiler again. This will ensure that it is perfectly clean and the alcohol will evaporate fast, leaving it dry and ready to accept the mounting tape. Apply the mounting tape to all solid areas on the underside of the spoiler, but do NOT cover the studded areas. Those are meant to be as close to the trunk as possible. There are some indented areas that you can omit from taping because the tape will not touch the trunk lid in those areas.
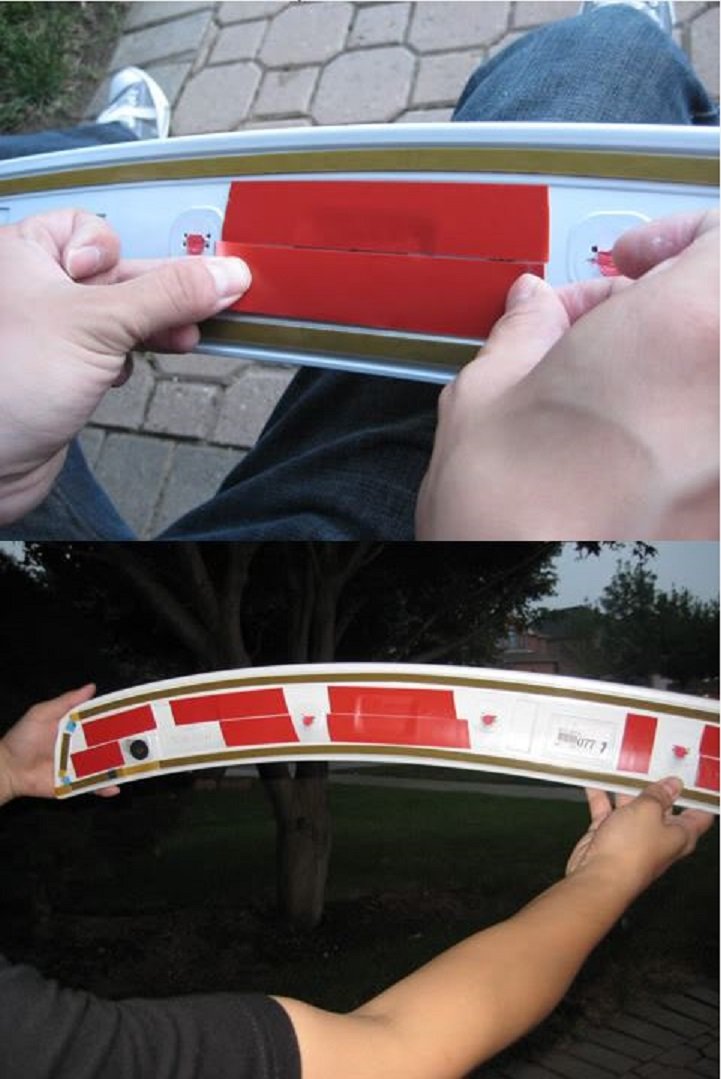
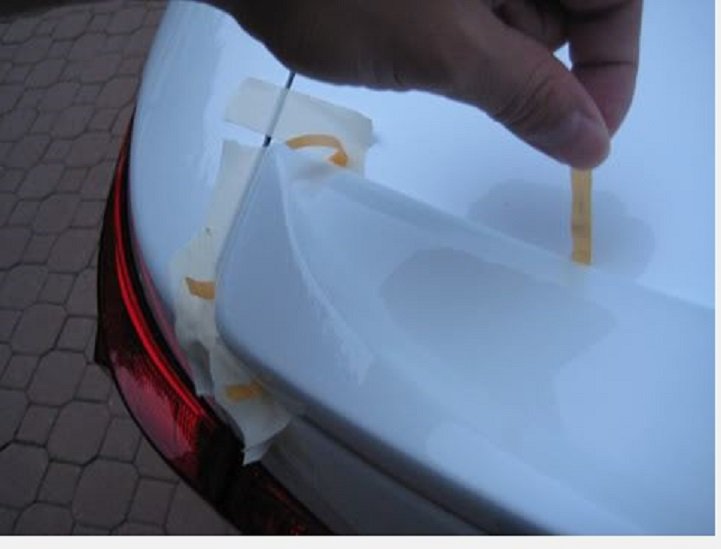
After you have attached the tape to the spoiler, re-check the fitment and placement on the trunk. There may be areas where you'll need to double up on the mounting tape. Note any such places and add another layer. Peel off the red outer layer of the mounting tape and discard. The outer edges of the spoiler are trimmed with some OEM tape. It is covered with a yellow film; do not remove the film completely, but start a section at each area and fold it over so that it sticks out from the sides. This will make it easier to peel completely off once you have mounted the spoiler. This step is permanent, so make sure that you put it exactly where it is supposed to go. Once you have placed the spoiler onto the trunk, and it doesn't move, go ahead and remove the rest of the OEM film and start applying even pressure across the entire spoiler. Keep applying pressure for several minutes or until your arms hurt too much to continue.
Dealerships or professional shops will likely drill the holes in your hood for this job. That is not necessary as this tape is pretty much permanent. Even at very high speeds, this spoiler will not budge at all. It looks great and can be removed if desired.
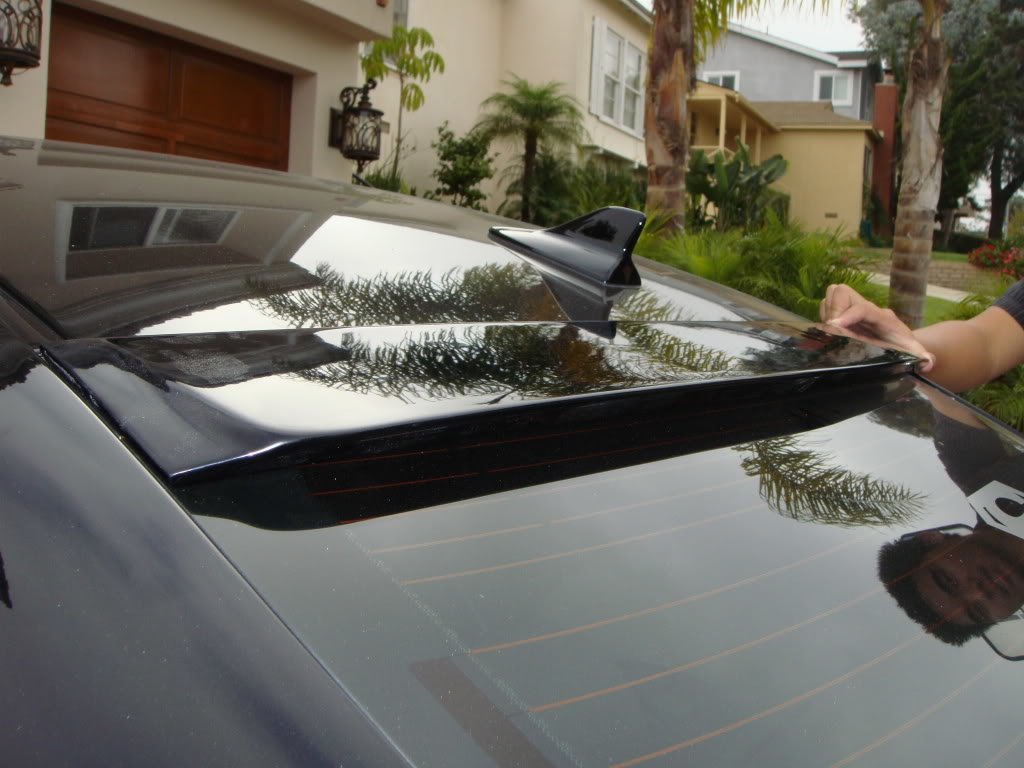
If a roof spoiler is desired, this same basic process is used. The mounting tape will work wonders and no holes need to be drilled.
We Professionally Provide Bumpers, Grilles, Headlights, Taillights, and other After Market Bodykits.
![]()
![]()
![]()
![]()
![]()
![]()